Side Imaging vs Down Imaging
You’ve marked a waypoint on a promising-looking hump. You idle over, drop your trolling motor, and start casting. Nothing. You work the area for an hour, throwing every lure in the box, convinced the fish should be here. You leave frustrated, wondering if you just wasted your time or if the fish were there and you just couldn’t find them. Sound familiar? For decades, that was the game. Today, modern sonar technology like Side Imaging and Down Imaging has fundamentally changed fishing from blind hunting to visual scouting. But understanding the difference between looking down and looking sideways is the key to unlocking their power.
Disclaimer: This guide is based on my two decades of experience on the water. Always check your state’s specific fishing regulations and license requirements before heading out. Safety first: wear your PFD, check the weather, and let someone know your float plan. I am not affiliated with any specific sonar manufacturer.
The Sonar Analogy: Your Underwater Road Map
Think of your traditional 2D sonar as looking straight down at your shoes while you walk—it tells you what’s directly under you, right now. It’s essential, but your field of view is tiny. Side Imaging and Down Imaging are like turning on the streetlights and looking at a detailed satellite map.
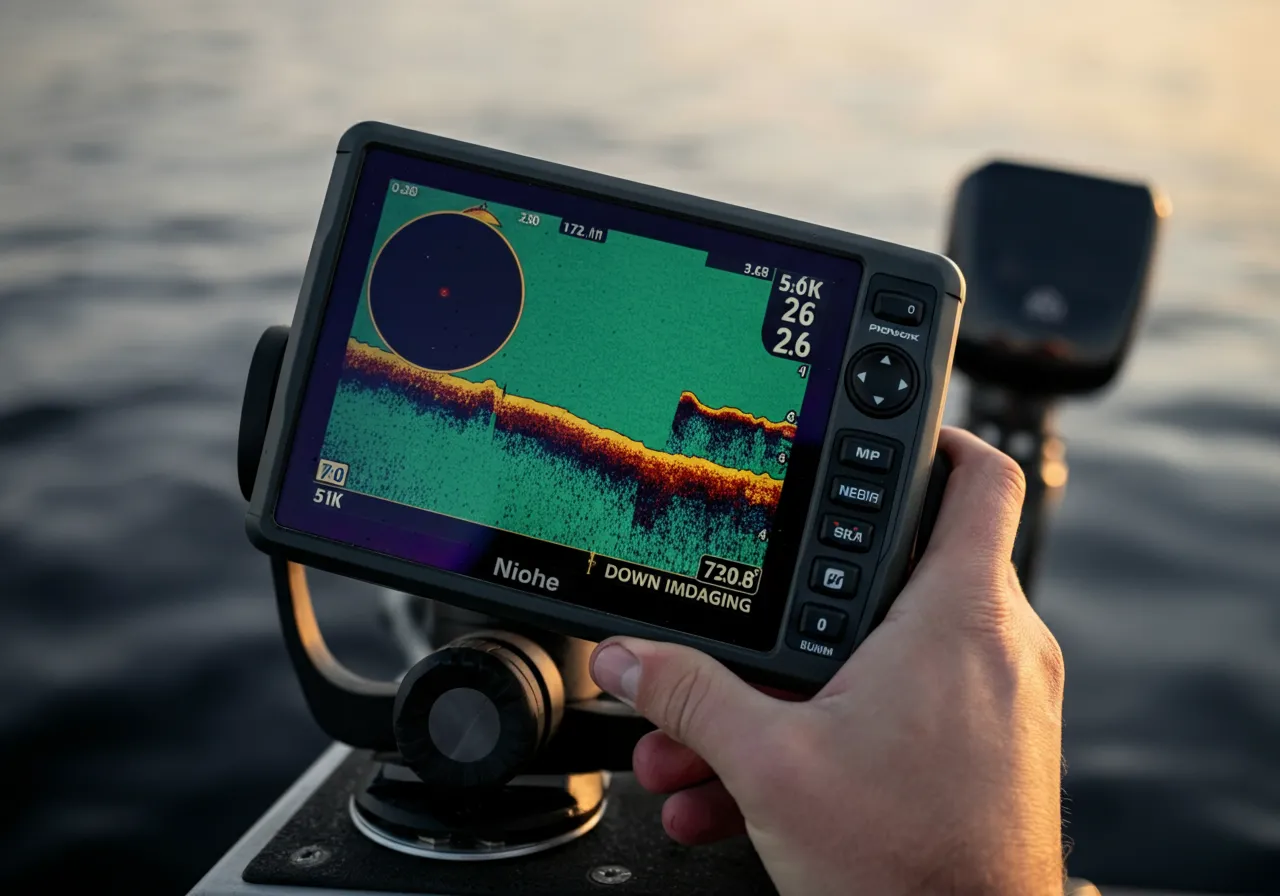
Here’s the core science: both technologies use a highly focused, high-frequency beam of sound. Down Imaging shoots this beam straight down, creating an incredibly detailed, photograph-like image of what’s directly beneath your boat—a single stump, a bass on a branch, the exact composition of the bottom. Side Imaging shoots this beam out to the left and right, often hundreds of feet, painting a detailed picture of the underwater landscape to your sides. It’s the ultimate scouting tool for finding brush piles, rock piles, drop-offs, and bait schools you’d never see otherwise.
The Angler’s Legal & Safety Checkpoint
Before we get into the tech, let’s cover the non-negotiables. A $1,000 sonar unit won’t help if you’re not legal or safe.
- License & Regulations: Your fishing license is your ticket to the resource. Regulations on seasons, size limits, and bag limits are in place for conservation. It is your responsibility to know them. Bookmark your state’s wildlife agency site. For a prime example of a comprehensive resource, check the U.S. Fish & Wildlife Service for federal rules and conservation initiatives.
- Safety & Conservation: Electronics drain batteries. Always have a backup power plan. When scanning new water, remain aware of your surroundings—don’t get so fixated on the screen you run aground. Practice ethical angling: handle fish with care, use appropriate gear to minimize fight time, and consider catch-and-release for trophy fish to ensure future generations have the same opportunities we do.
The Core Guide: When to Use Side vs. Down
You don’t use a wrench to drive a nail. Similarly, you choose your sonar view based on the task.
Mastering Side Imaging: The Long-Range Scout
Primary Use: Covering water and locating structure. I use it 80% of the time when I’m searching.
- Step 1: Set Your Range. Start with a symmetrical range (e.g., 100 feet to each side). In clear water, you can push it further. In murky water, dial it back.
- Step 2: Identify Key Targets. Look for hard, bright returns. A single rock pile will show as a bright white blob. A brush pile looks like a fuzzy, bright cluster. A school of bait looks like a cloud of tiny dots.
- Step 3: Mark and Analyze. When you see something promising, mark it immediately! Your unit will show the distance. Now, circle back and pass directly over the spot, switching to…
Mastering Down Imaging: The Surgical Microscope
Primary Use: Analyzing marked structure and identifying fish.
- Step 1: Pass Over Your Mark. Center your boat on the waypoint you made with Side Imaging.
- Step 2: Interpret the Detail. Now you can see: Is that brush pile dense or sparse? Are those rocks basketball-sized or car-sized? Most importantly, you can see individual fish arches or blobs holding tight to that structure.
- Step 3: Make the Cast. With Down Imaging, you can position your boat precisely and drop a jig or cast a worm right on the fish’s head. It turns guessing into a targeted presentation.
Gear Showdown: Choosing Your Tool
Most modern units combine these technologies. The choice often comes down to transducer placement and unit capability.
| Feature/Capability | Budget-Friendly Combo (Entry-Level) | Pro-Level Combo (Tournament Grade) |
|---|---|---|
| Screen Resolution | Lower resolution (e.g., 480p). Good for basic shapes. | High-resolution (e.g., 1080p+). Exceptional detail, less clutter. |
| Transducer | Often a single, combo SI/DI transducer. Good all-around performance. | Multiple, specialized transducers (e.g., dedicated SI, dedicated High-Freq 2D). Maximum clarity and range. |
| Scanning Range | Side Imaging effective to ~150 ft per side. Good for most lakes. | Side Imaging can reach 250+ ft per side. Essential for scanning deep ledges and large reservoirs. |
| Processing Power | Sluder image update. May lag at high speed. | Lightning-fast processing for real-time imaging, even while running 50 mph. |
| Best For | The weekend angler wanting a massive upgrade over basic sonar. | The serious tournament angler or guide who needs every competitive advantage. |
The Honest Pros & Cons
Side Imaging Pros: Unmatched for searching. Finds hidden structure. Reveals baitfish migrations. Can scan while running at higher speeds.
Side Imaging Cons: Has a learning curve. Images to the side can be distorted if not interpreted correctly. Less effective for directly targeting suspended fish in open water.
Down Imaging Pros: Incredible detail directly below. Excellent for distinguishing fish from structure. Easier for most anglers to interpret immediately.
Down Imaging Cons: Very narrow field of view. You have to be directly over the target. Useless for searching new areas.
FAQ: Straight Talk from the Console
Q: I can only afford one. Which should I get?
A: For most anglers, a combo unit that offers both is the answer. If forced to choose pure function, Side Imaging will find you more new spots, which is often the biggest hurdle.
Q: How do I avoid getting overwhelmed by the screen?
A: Start simple. Spend a day just looking. Don’t even fish. Watch how different objects (docks, trees, bridge pilings) appear. Master identifying one thing at a time.
Q: Can I use this for ice fishing or from shore?
A: Down Imaging technology is now in many portable and ice fishing units, and it’s a game-changer. Traditional Side Imaging requires a moving boat, but new “Live Scope” forward-viewing sonar is revolutionizing stationary fishing.
The bottom line is this: Side Imaging tells you where to fish. Down Imaging shows you how to fish it. Together, they form the most powerful scouting and targeting system an angler has ever had. Stop fishing blind. Start fishing with intention.
Ready to dial in your electronics skills? Browse our other guides on interpreting sonar arches and mastering seasonal patterns to put your new-found knowledge into action.