Outriggers Setup Guide
You’ve spent hours setting the perfect spread of lures, dialing in the trolling speed, and marking bait. Then, it happens. A double hookup turns into a bird’s nest of epic proportions as your lines cross. You’re left with a mess of tangles, lost lures, and a missed opportunity. If you troll with more than two lines, you know this frustration all too well. The solution isn’t magic—it’s mechanics. A proper outrigger setup is the game-changer that turns chaos into a controlled, fish-catching operation.
The Angler’s Roadmap: Why Outriggers Work
Think of your trolling spread like traffic on a multi-lane highway. Without outriggers, all your lines are trying to merge into the same lane directly behind the boat, leading to collisions (tangles). Outriggers act as overpasses, creating dedicated lanes for your lures. They hold your lines away from the boat’s wake and from each other, presenting a wider, more natural spread of baits. This mimics a school of fleeing baitfish, triggering a predator’s instinct to strike. It also keeps your lines clear of the prop wash and allows you to run lighter tackle, as the release clip absorbs the initial shock of a strike.
Safety, Legal & Ethical Checkpoint
Before we rig a single line, let’s cover the non-negotiables. On the water, your safety and compliance come first.
- Personal Flotation Devices (PFDs): Everyone on board must have a properly fitting, US Coast Guard-approved PFD, especially when working on deck near outrigger poles. I keep mine on when deploying or retrieving lines.
- Weather Awareness: Outriggers raise your boat’s center of gravity. In rough seas or high winds, retract them to prevent dangerous rolling and potential damage. Always check the marine forecast before heading out. A great resource is the National Weather Service for official US forecasts and warnings.
- Know Your State Regulations: Fishing license requirements and the number of lines allowed per angler vary by state. For example, saltwater regulations in Florida differ from those in California. It is your responsibility to know the rules for the waters you are fishing. Always check with your state’s wildlife agency before you go.
- Ethical Angling: A wider spread means you can cover more water efficiently. Use this advantage to target fish species sustainably. Handle all released fish with care, using proper dehooking tools and revival techniques.
Your Step-by-Step Outrigger Setup Guide
Setting up outriggers isn’t complicated, but doing it right makes all the difference. Follow this sequence every time.
Step 1: Deploying the Outrigger Poles
Start with the poles fully retracted and secured. Release the locking mechanism (usually a pin or clamp) and gently extend the pole to your desired length. For calm conditions, a 15-18 foot extension is standard. In rougher water or tighter quarters, a shorter spread is wiser. Once extended, lock the pole securely in place. Ensure the pole is angled slightly upward and outward—imagine a 45-degree angle from the gunwale.
Step 2: Rigging the Outrigger Line & Clip
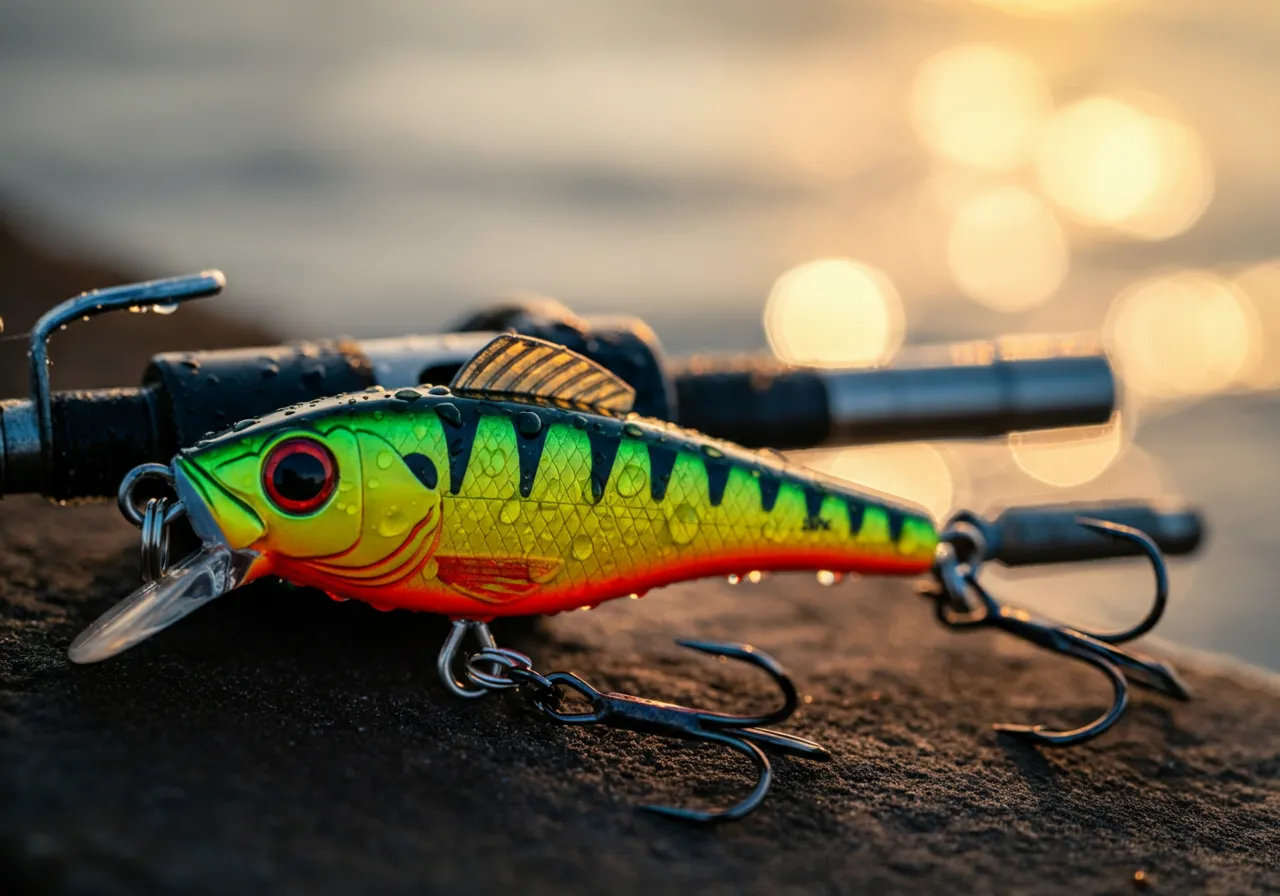
This is the heart of the system. Your main outrigger line (typically 200-400 lb test Dacron or braid) runs from a reel at the base, up through the pole tip, and back down to a release clip.
- Feed the line from the base reel up through the tip of the outrigger pole.
- Attach the line to your release clip. There are two main types: pin-style clips (better for heavy tackle/big game) and rubber-band clips
- Adjust the clip’s tension. It should be tight enough to hold your weighted lure or planer, but release cleanly on the strike of a fish. Test it by giving a firm pull on your fishing line.
Step 3: Setting Your Fishing Lines
With your boat at trolling speed, let out your fishing line to the desired depth or distance. Then, attach your fishing line to the release clip on the outrigger line. Slowly let out more outrigger line from the base, which will lift your fishing line and carry it out to the side. Set it so your lure is skipping or swimming in the “sweet spot”—just outside the boat’s white wash. Repeat on the opposite side, staggering the distances of your lures (short, medium, long) to create a layered spread.
Step 4: The Strike & Retrieve
When a fish hits, the release clip will pop, allowing your fishing line to fall free. This critical moment gives the fish time to eat the lure without feeling the boat’s drag. Immediately reel in the slack and set the hook. After landing the fish, simply reel your outrigger line back in, re-attach the clip, and reset.
Choosing Your Gear: Budget vs. Tournament Ready
Outrigger systems range from simple to sophisticated. Your choice depends on your boat size, target species, and budget.
| Feature | Budget-Friendly Setup | Pro/Heavy-Duty Setup |
|---|---|---|
| Pole Material | Fiberglass or thin-wall aluminum. Lighter, good for small to mid-size boats in calm waters. | Solid aluminum or carbon fiber. Superior strength and vibration damping for big water and large game fish. |
| Mounting | Clamp-on bases. Portable and affordable, but can put stress on gunwales. | Through-bolt or welded flush mounts. The strongest, most permanent, and secure installation. |
| Release Clips | Basic rubber-band or spring-tension clips. May require more frequent adjustment. | Precision-adjustable pin clips or hydraulic releases. Consistent tension and reliable release under heavy load. |
| Best For | Inshore trolling for mackerel, mahi, or walleye on lakes and bays. | Offshore trolling for tuna, marlin, and in rough sea conditions. |
The Honest Pros & Cons
Pros:
- Eliminates Tangles: The primary benefit. Run 4, 6, or even 8 lines cleanly.
- Wider, More Effective Spread: Mimics a natural bait school and covers more water.
- Better Lure Action: Gets lures away from turbulent water.
- Allows Lighter Tackle: The clip acts as a shock absorber, so you can use lighter line for more bites.
Cons:
- Cost & Installation: A quality system is an investment, and permanent mounting requires drilling.
- Learning Curve: Dialing in clip tension and spread distance takes practice.
- Maintenance: Lines, clips, and pulleys need regular inspection for wear and corrosion, especially in saltwater.
Outrigger FAQs
Q: Can I use outriggers on a small boat?
A: Absolutely. Many companies make shorter (12-15 ft) clamp-on outriggers perfect for center consoles and even large skiffs. Just be mindful of balance in wind.
Q: What’s the single biggest mistake beginners make?
A> Setting the release clip tension too tight. If it doesn’t release on a strike, you’ll either pull the hook out or break the line. Err on the side of too loose and adjust up.
Q: Do I need special fishing rods or reels?
A> Not at all. You use your standard trolling rods. The outrigger system is separate and works with the tackle you already own.
Mastering your outrigger setup is one of the highest-return skills in trolling. It turns frustration into confidence and random luck into consistent results. Start with the basics, practice in calm conditions, and you’ll soon be deploying a spread that looks—and catches—like a pro’s.
Ready to dial in the rest of your trolling spread? Explore our other guides on lure selection, downrigger techniques, and reading sonar to become a complete offshore angler.